Test Index · Photo Borders · Table of sliced images - Rounded corners · Sliced images and manually linked · Overlap Images · Create a Watermark · Gif Png Transparency · Buttons-Image Links · Image Names · Image Theft · Lake Applet · Other applets · Slideshow1 · Slideshow2 · Slideshow3 · Galleries · DD Thumbnail Viewer · image map · xara thumbnail · Random Image · LOGO BRANDING · Animated Image · photo with sound
Put a border around your photo
WEBPAGE IMAGES:
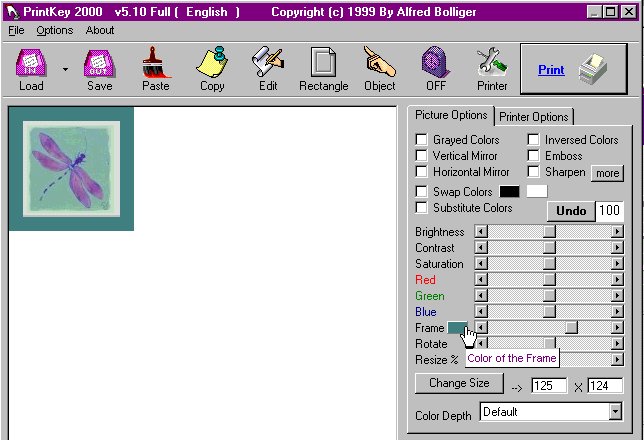
1) Always remember to limit the image size for the web! Check the size of your finished image. Images should be "optimized so that they load faster. Images should be between 1kb and 60kb in size (smaller is good as long as the quality remains!). When you insert images that are not optimized, the webpage will load VERY SLOWLY! Most Photo programs have a compression/optimize/make ready for website feature. Try your HELP section in the program.
Consider Irfanview as a quick remedy-photo viewer with some great features and good compression.
2) Don't expect the image "resize" feature to optimze your image! If you load a 2mb image into the webpage and use the resize feature to make the image smaller on the webpage, your visitor still has to wait for 2mb to load. Work on your photo before it makes it to your webpage!
3) Don't take images that are not yours unless it is posted that you can do so!
|
[CLARIFICATION: Transparent image: could be gif or png Non-Transparent image: could be gif, jpg, png, tif, bmp, etc.]
SIMPLEST IMAGE BORDERS
These images were placed into the page using Insert > HTML so borders could be added.

Code for use in CSB: <img src="^GEMDIR/SnakeFace2.jpg">
Regular HTML: <img src="SnakeFace2.jpg">
|

Code for use in CSB: <img src="^GEMDIR/SnakeFace2.jpg" border=1>
Regular HTML: <img src="SnakeFace2.jpg" border=1>
|

Code for use in CSB: <img src="^GEMDIR/SnakeFace2.jpg" border=5>
Regular HTML: <img src="SnakeFace2.jpg" border=5>
|

Code for use in CSB: <img src="^GEMDIR/SnakeFace2.jpg" border=10 style="border-color=#6600CC; border-style:inset" >
Regular HTML: <img src="SnakeFace2.jpg" border=10 style="border-color=#6600CC; border-style:inset" >
(Scroll down to Sample 6 below for more style samples!)
|
|
SAMPLE 1:
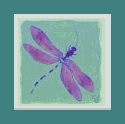
This is a simple transparent gif placed into a CSB made table.
Table settings: Shadow is same as highlight color Vertical alignment is Middle
Cell spacing: 1 Cell padding: 2 Table border width: 1
|
||||||||||||||||||
|
SAMPLE 2:
Same simple transparent gif placed into a CSB made table.
Table settings: Shadow is same as highlight color Vertical alignment is Middle
Cell spacing: 1 Cell padding: 2 Table border width: 3
|
||||||||||||||||||
|
SAMPLE 3:
This is a simple gif with blue background placed into a CSB made table.
Table settings: Shadow color: dark blue Highlight: Gray Vertical alignment is Middle
Cell spacing: 1 Cell padding: 0 Table border width: 5
background of table is transparent, cell is transparent (causes inner gray border around image)
|
||||||||||||||||||
|
SAMPLE 4:
This is a simple gif with a blue background placed into a CSB made table.
Table settings: Shadow color: dark blue Highlight: gray Vertical alignment is Middle
Cell spacing: 1 Cell padding: 0 Table border width: 5
background of table is transparent, cell is blue to match image so no gray border around image.
Note: You can also make your table specific height/width to match your image to get rid of the extra background color. To assign a specific cell/row height or width:
Right click the table > Properties > Table > Size & Alignment tab ROW HEIGHT
|
||||||||||||||||||
This is the way it looks in my tlx file:
(I use a small box for my image placeholder)
|
SAMPLE 5:
This is a transparent gif placed into an HTML table, placed into a CSB made table for a double border. The inner border is a RIDGE.
CSB SETTINGS FOR OUTSIDE BORDER:
Table settings: Shadow is same as highlight color Vertical alignment is Middle
Cell spacing: 2 Cell padding: 2 Table border width: 1
USE INSERT > HTML (or insert a webgem) TO CREATE THE SPECIAL TABLE
Code used for the inner RIDGE border and image:
blue = change this for the style of border
red = change this to your image specifications.
|
||||||||||||||||||
|
SAMPLE 6:
This is a transparent gif placed into an HTML table with the border style: GROOVE.
USE INSERT > HTML (or insert a webgem) TO CREATE THE SPECIAL TABLE
Code used for the inner GROOVE border and image:
blue = change this for the style of border
red = change this to your image specifications.
|
||||||||||||||||||
SAMPLE 7:

|
|
||||||||||||||||||
SAMPLE 8:
|
|||||||||||||||||||
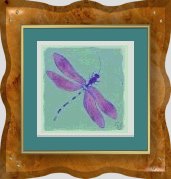
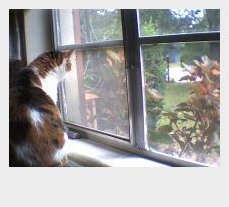
SAMPLE 9: This sample shows that with a photo program, you can apply a pre-designed frame to create a beautiful 3D presentation.
   |
|||||||||||||||||||
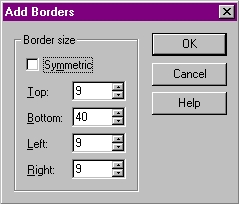
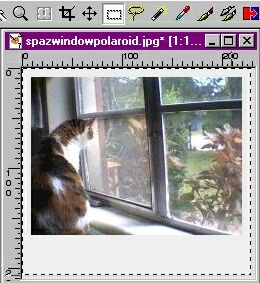
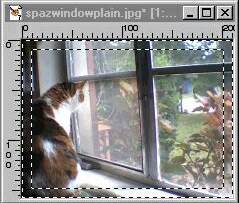
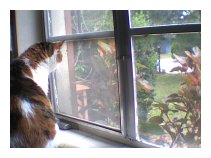
SAMPLE 10: This sample is made with Paint Shop Pro 7:
|
|||||||||||||||||||
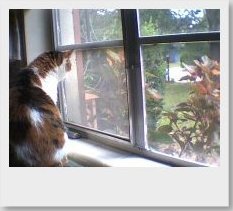
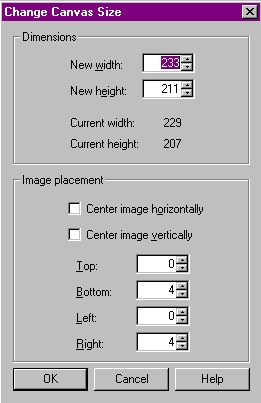
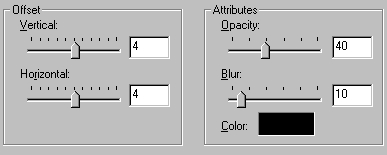
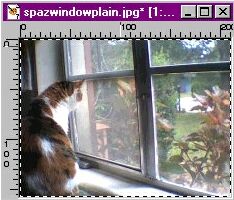
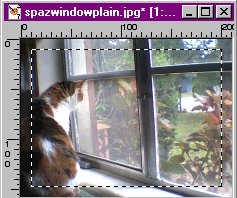
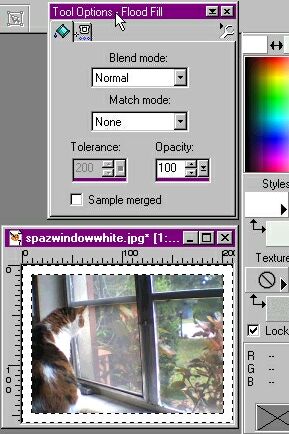
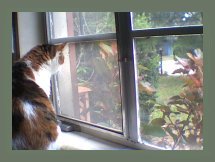
SAMPLE 11: This sample is made with Paint Shop Pro 7:
(Could be done in PSP8 or any image software with selection layers!)
File Save As to save the modified image under a new name, keeping the original intact.
|
|||||||||||||||||||
|
|||||||||||||||||||


HOW TO CREATE A WATERMARK IMAGE (moved here!)